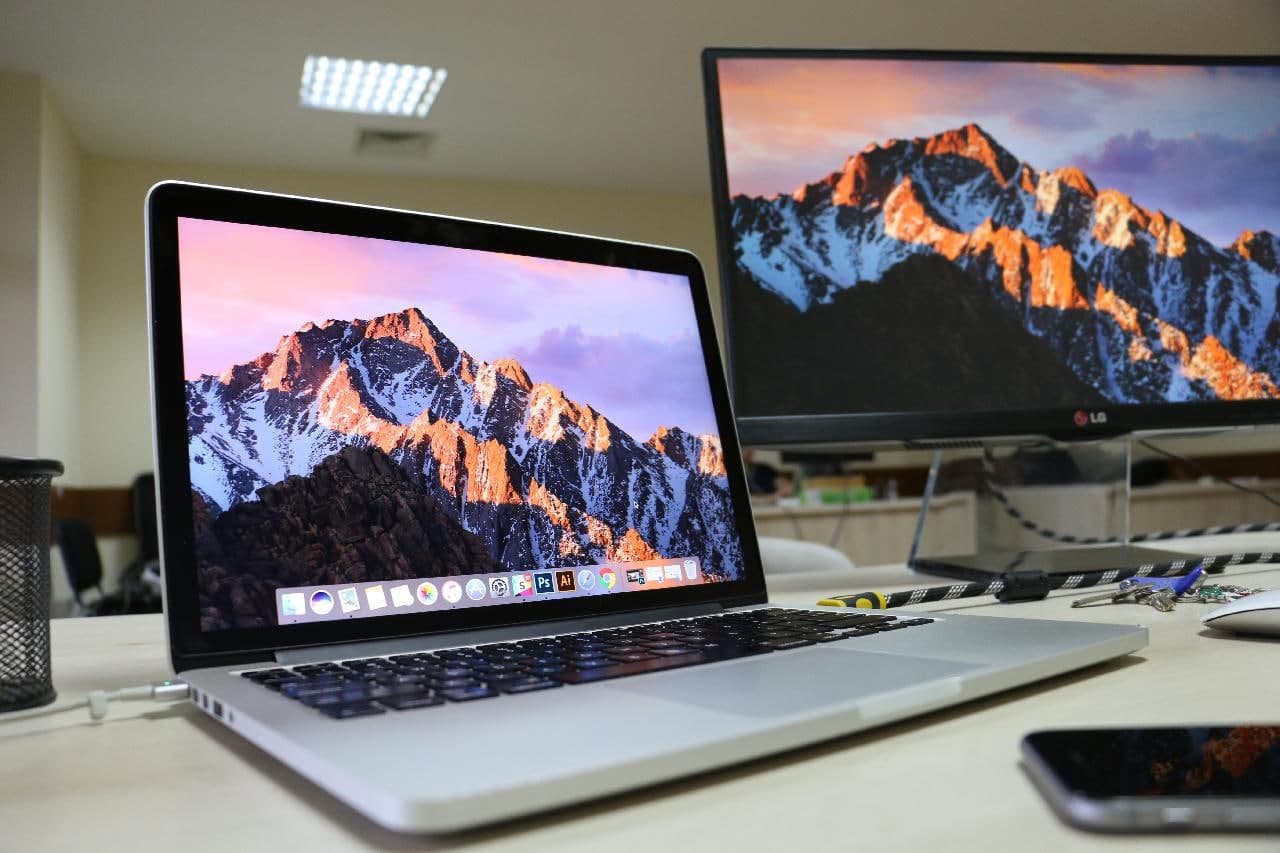
Hiding the Dock when it is unnecessary on our MacBook gives the effect and gives the sense of free or wider view to our MacBook screen. When we need the Dock, it is supposed to show up, and when it is not needed, it is supposed to hide. Then, if you are asking “Is possible to hide and make our Dock shows up automatically on our MacBook?” The answer is of course “Yes”. But how to set our MacBook to make it so?
Well, just read the whole article so you will not miss any single information about it.
Here, I am going to show you step by step about How to Automatically Hide the Dock in Your Mac or MacBook. But, before we start I have to tell you that this tutorial can only be applied to the Mac or MacBook that has Catalina or BigSur for its OS. Well, here it is.
Quick-Step
Click Apple icon > System Preferences > Dock > Tick the Automatically hide
and show the Dock
Hiding Dock in Your MacBook Automatically
In Catalina
1. Click the Apple icon button in the left top corner of the MacBook, then click it.

2. Select System Preferences.

3. After System Preferences has opened, find the Dock option and click it.

4. Now, tick the Automatically hide and show the Dock checkbox.

In BigSur
1. Find the Apple icon button, then click it.

2. After the menu appears, choose System Preferences.

3. On the System Preferences window, find the Dock & Menu Bar option and click it.

4. Tick the Automatically hide and show the Dock checkbox.

Basically, both in Catalina and BigSur there’s no significant difference step in making the Doc hide and show automatically. Just the name of the Dock option in the System Preferences. In Catalina it is named “Dock” but in BigSur it is named “Dock & Menu Bar”.
That’s it. Hope it’s helpful for you. Don’t forget to share this with your friends so they’ll not get confused when they want to do so. If there’s any question related to MacBook usage, kindly let us know through the comment section below.
As always, stay safe, stay healthy and see you in the next article. :))


