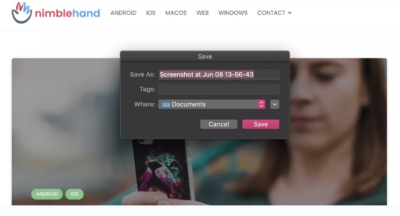
Nowadays, it is not a new thing for people to save some information or pictures they need in the form of screenshots. Why? Because people don’t need to busy taking notes of the information they need to try so hard to get the original picture’s file. They can just simply take a screenshot of something without feeling the fear of missing out.
If you are reading this, I am sure you are trying to find out How to Take a Screenshot on Mac and its Alternative App. Follow the provided steps in this article to get the thing.
Quick Step
Press Command ⌘ +Shift + 5 > Select the screenshot type > Click Capture
MacBook Tool: How to Screenshot using Built-in Feature
1. Press Command ⌘ +Shift + 5 on your Mac‘s keyboard to open the screenshot tools.
2. After the screenshot tools appeared, choose the tool based on your need.
(The view of the screenshot tools panel in Mac is shown below.)
3. Recently, there have been three kinds of actions that you can take with the screenshot tool.
First, you can capture the entire screen. So, when you use this tool, any display which is shown on your screen will be captured entirely. Then the second action, you can capture a window. When you open some windows of the browser or open some apps, this screenshot tool is very beneficial. This tool will detect each window or each opened app automatically. So, when you want to capture one of the opened apps views on your Mac‘s screen, you just need to point it and the tool will detect the area of the app that is going to be captured. Now the last one, this tool can be used to capture a portion of the screen. So, you can select certain information on your Mac‘s screen.
Besides, there is an alternative app that I recommend for taking screenshots on Mac. It is called Lightshot. Already curious about how to use it? Calm down, I will show you in a brief step.
Quick Step
Visit app.prntscr.com > Click Download for Mac > Install it > After installing, click LightShot icon in menu bar > Click Take screenshot > Select the area > Click the save icon button
MacBook Tool: Taking Screenshot on Mac using LightShot
1. Please visit https://app.prntscr.com/en/index.html using the browser in your Mac.
2. Hit the Download for Mac button.
3. After it’s downloaded, install it.
4. Now, find LightShot on the right top of your screen.
5. Choose Take screenshot.

6. Select the area that you want to capture.

7. Click the save icon button.

8. Rename your screenshot, and choose the location to save it. Then click Save

So simple and easy to do. Good luck!


