It’s not a secret that there are some bugs found in the newest macOS, Big Sur. While some people are waiting for a new stable Big Sur, others who that already upgraded to Big Sur decided to downgrade their macOS.
If you are one of those people who decided to downgrade your macOS but don’t know how to do it yet, great you are in the right place.
Quick-Step
Back up data > Shut down Mac and enter recovery mode > Take off any plugged accessories if any > Press Command + R after the Mac is on > Find Time Machine backup > Choose Restore from Time Machine Backup > Click Continue
Downgrading BigSur Safely to Catalina MacOS
Here are the steps of How to Downgrade Big Sur to Catalina MacOS Easily and Safely:
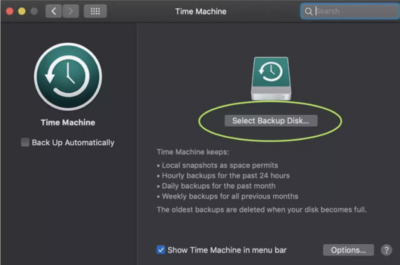
1. Back up all your data before you start to downgrade your macOS. You must back up your data on your Mac first using Time Machine. If there is a problem with your OS it will make Time Machine is difficult to use. So, it’s better for you to find any backup method that is not dependent on macOS.
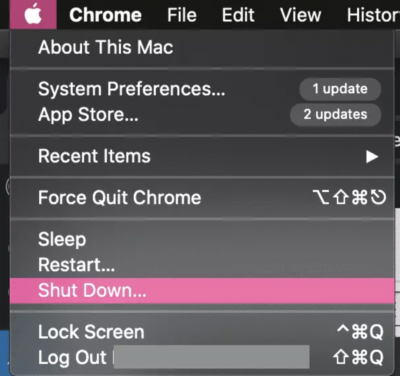
2. Shut down your MacBook and enter recovery mode. Now, close and quit all of your apps and fully shut down your Mac. You can start to shut down your Mac using the Shut Down option in the Apple icon in the Mac toolbar.
3. Take off any accessories that are attached to your Mac such as a mouse and headset. Press the power button on your MacBook keyboard to start it up. When your Mac is on, press and hold the Command + R buttons immediately until the Apple logo appears.

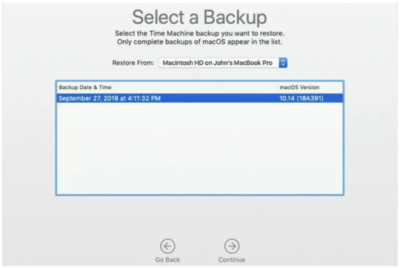
4. Find Time Machine backup. Open your macOS Utilities. Choose Restore from Time Machine Backup, then click Continue. Then, your Mac will look for the copy of your OS from Time Machine.
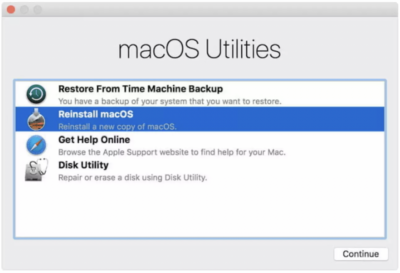
5. Alternative Way: Use the Reinstall macOS option to downgrade macOS. If you are unfamiliar with Time machine and you don’t have any backup, you can follow this alternative way. Now, open the MacOS Utilities, and choose Reinstall macOS option. Click Continue button and enter your Apple ID. Make sure that your Mac is connected to the internet connection while you are doing it.
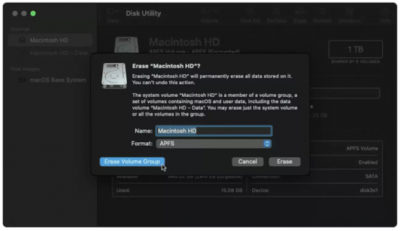
6. Delete the startup disk if it’s required. If you are already followed all the ways but if you still find serious malfunctions and difficulties, the only way that can solve it is you must delete the entire disk.
That’s it. Hope you find it useful. Thank you very much for visiting Nimblehand.com . See you and have a nice day. :))


