Google Keep is a note-taking service included as part of the free, web-based Google Docs Editors suite offered by Google. By using Google keep we can take notes directly from its app or we can also take some pictures of some pages in our physical book and then highlight it like it is a real physical book. The good news is we can use Google keep both in Android and iOS.
Now I’m going to tell you about How to Extract a Text From an Image Using Google Keep. Here it is:
Quick-Step
Capture anything contains text > Open the photo from gallery > Tap share button > Choose Google Keep app > Fill in the form > Save
Extracting Image to a Text by Using Google Keep
First Way
1. Capture anything that contains text using the built-in camera on your smartphone.
2. Then, open the picture you capture previously from your phone’s gallery.
3. Now, tap the share button.
4. Choose the Google Keep app. If you are still unfamiliar with the app, it’s called Keep a note on your share app options.
5. After that, fill the Title and Take a note… fields.
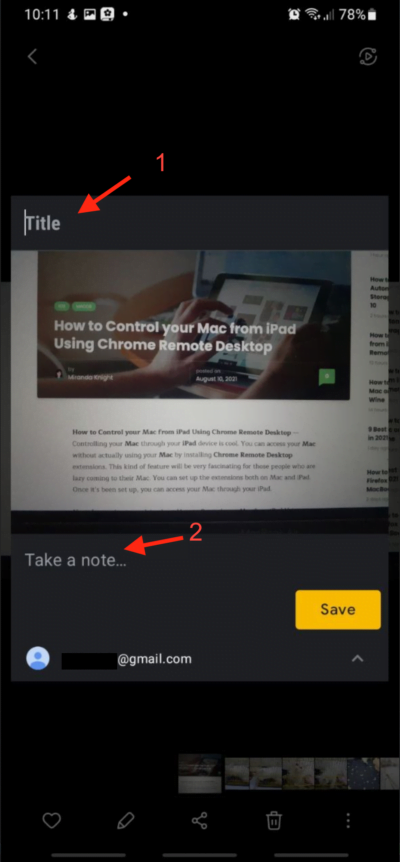
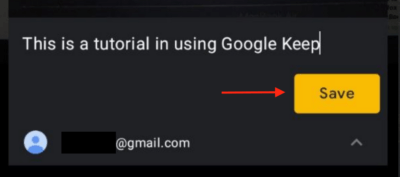
6. If you want to fill those fields later, just directly tap the Save button.
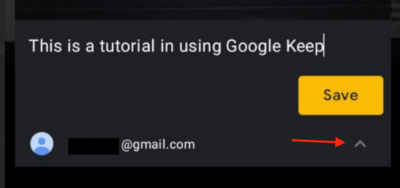
7. You can also choose the account that you use to save the note. Tap the up arrow button under the Save button. Then choose the account.
8. When the note has been saved successfully, you can immediately view the result by tap View on the success message on the bottom side of the screen. If the message is already gone, you can open the Keep-note app and open the note you saved previously. If you can’t find it, make sure you use the same account you use to save the note.
Second Way
1. Launch the keep note app.
2. Tap the picture button.
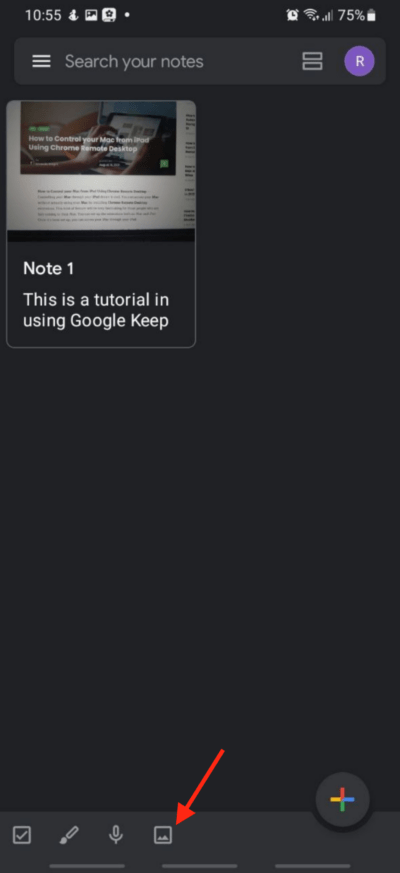
3. On the pop up choose the Take photo.
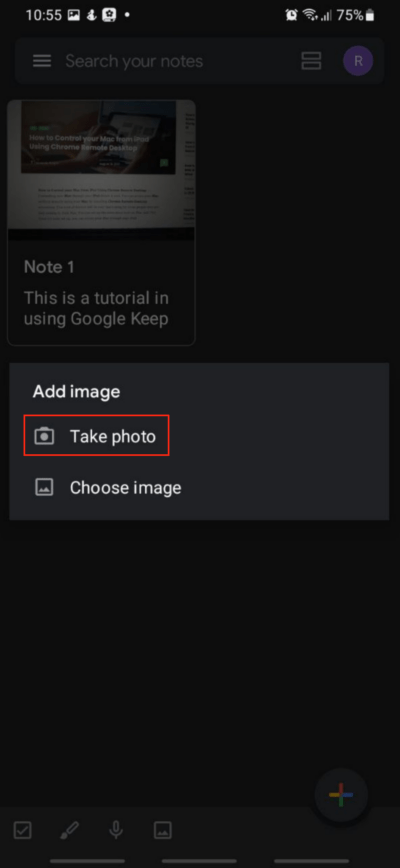
4. When your camera is open capture the text that you want to save to the keep-note.
5. It’s the result is good you can tap OK if the result is not good tap retry to retake.
6. After that fill in the title and the note fields.
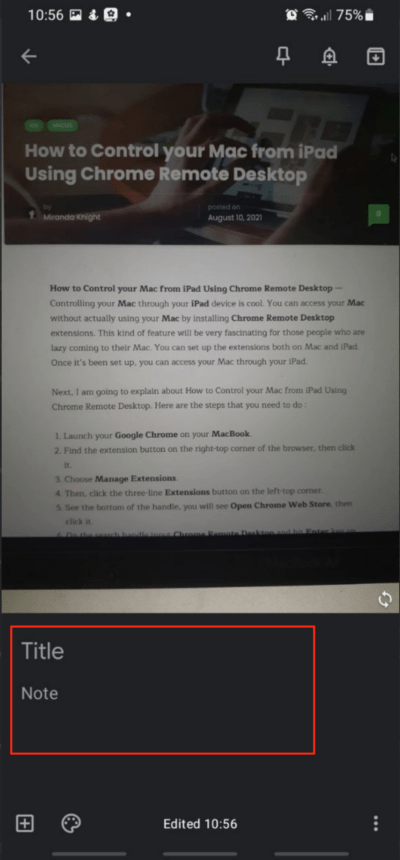
7. If you want to edit the picture just tap it once.
8. Then tap the paint button once.
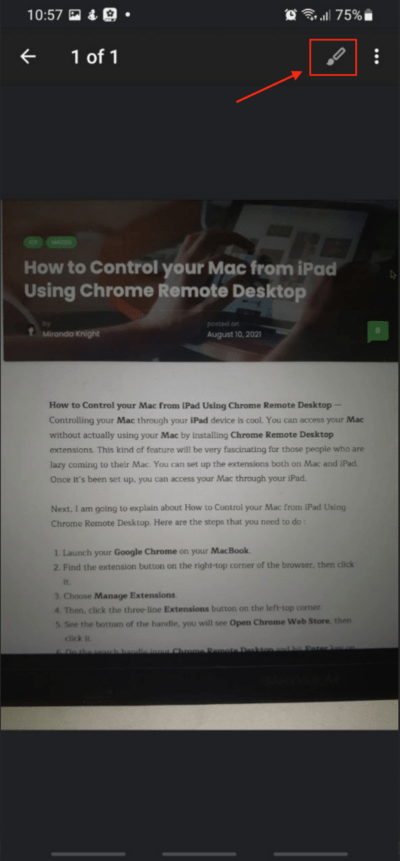
9. Now you’ll see the tools on the bottom of the screen.
10. Use any tools you want to edit your picture.
11. After you finish editing your picture you don’t need to save it. When you hit the back button it will be saved automatically.
That’s it. Hope you find it useful. Thanks a lot for visiting nimblehand.com and see you.


